
How to Use Material Dashboard in Laravel


In this tutorial, we will explore how to set up and use the Material Design UI Dashboard in a Laravel project using the laravel-frontend-presets/material-dashboard package along with Laravel UI.
Step 1 - Create a New Laravel Project
First, we’ll create a fresh Laravel application. Open your terminal and run the following command:
composer create-project laravel/laravel material-dashboardStep 2 - Connect to the Database
Next, we need to connect our Laravel application to a database.
– Open the .env configuration file and update it with your database credentials:
DB_CONNECTION=mysql
DB_HOST=127.0.0.1
DB_PORT=3306
DB_DATABASE=your_database_name
DB_USERNAME=your_database_username
DB_PASSWORD=your_database_password
Step 3 - Install Laravel UI
– To use frontend presets, we’ll install the Laravel UI package. Run the following command:
composer require laravel/uiStep 4 - Install the Material Dashboard Preset
– Now, install the Material Dashboard preset via Composer:
composer require laravel-frontend-presets/material-dashboardAfter installation, run the following Artisan command to set up the Material preset. This will install all necessary assets and custom authentication views, and add the authentication routes in routes/web.php:
php artisan ui material– You need to install Sanctum as well:
composer require laravel/sanctum– Clean up any duplicate Auth entries by running:
composer dump-autoload– Run migrations with seeders to prepare the database:
php artisan migrate:fresh --seedNote: if you get error like this:
“Laravel Migration Error: Syntax error or access violation: 1071 Specified key was too long; max key length is 767 bytes” || “Syntax error or access violation: 1071 Specified key was too long”.
Solution 1:
The solution was to add this line in the boot() method of the /app/Providers/AppServiceProvider.php:
use Illuminate\Support\Facades\Schema;

/**
 * Bootstrap any application services.
 *
 * @return void
 */
public function boot()
{
    Schema::defaultStringLength(191);
}
Solution 2:
Just set the default database engine to 'InnoDB' on /config/database.php
'mysql' => [
    ...,
    ...,
    'engine' => env('DB_ENGINE', 'InnoDB'),
 ]
– then run php artisan config:cache to clear and refresh the configuration cache.
Step 5 - Review the Routes
The installation will automatically set up routes in routes/web.php. Ensure the routes look like this:
<?php

use Illuminate\Support\Facades\Route;
use App\Http\Controllers\DashboardController;
use App\Http\Controllers\ProfileController;
use App\Http\Controllers\RegisterController;
use App\Http\Controllers\SessionsController;

// Redirect to sign-in for guests
Route::get('/', function () {
    return redirect('sign-in');
})->middleware('guest');

// Dashboard route for authenticated users
Route::get('/dashboard', [DashboardController::class, 'index'])->middleware('auth')->name('dashboard');

// Authentication routes
Route::get('sign-up', [RegisterController::class, 'create'])->middleware('guest')->name('register');
Route::post('sign-up', [RegisterController::class, 'store'])->middleware('guest');
Route::get('sign-in', [SessionsController::class, 'create'])->middleware('guest')->name('login');
Route::post('sign-in', [SessionsController::class, 'store'])->middleware('guest');
Route::post('verify', [SessionsController::class, 'show'])->middleware('guest');
Route::post('reset-password', [SessionsController::class, 'update'])->middleware('guest')->name('password.update');

// Password reset routes
Route::get('verify', function () {
    return view('sessions.password.verify');
})->middleware('guest')->name('verify');
Route::get('reset-password/{token}', function ($token) {
    return view('sessions.password.reset', ['token' => $token]);
})->middleware('guest')->name('password.reset');

// Authenticated user routes
Route::post('sign-out', [SessionsController::class, 'destroy'])->middleware('auth')->name('logout');
Route::get('profile', [ProfileController::class, 'create'])->middleware('auth')->name('profile');
Route::post('user-profile', [ProfileController::class, 'update'])->middleware('auth');

// Additional pages for authenticated users
Route::group(['middleware' => 'auth'], function () {
    Route::get('billing', function () {
        return view('pages.billing');
    })->name('billing');
    Route::get('tables', function () {
        return view('pages.tables');
    })->name('tables');
    Route::get('rtl', function () {
        return view('pages.rtl');
    })->name('rtl');
    Route::get('virtual-reality', function () {
        return view('pages.virtual-reality');
    })->name('virtual-reality');
    Route::get('notifications', function () {
        return view('pages.notifications');
    })->name('notifications');
    Route::get('static-sign-in', function () {
        return view('pages.static-sign-in');
    })->name('static-sign-in');
    Route::get('static-sign-up', function () {
        return view('pages.static-sign-up');
    })->name('static-sign-up');
    Route::get('user-management', function () {
        return view('pages.laravel-examples.user-management');
    })->name('user-management');
    Route::get('user-profile', function () {
        return view('pages.laravel-examples.user-profile');
    })->name('user-profile');
});
Step 6 - Test the Material Dashboard
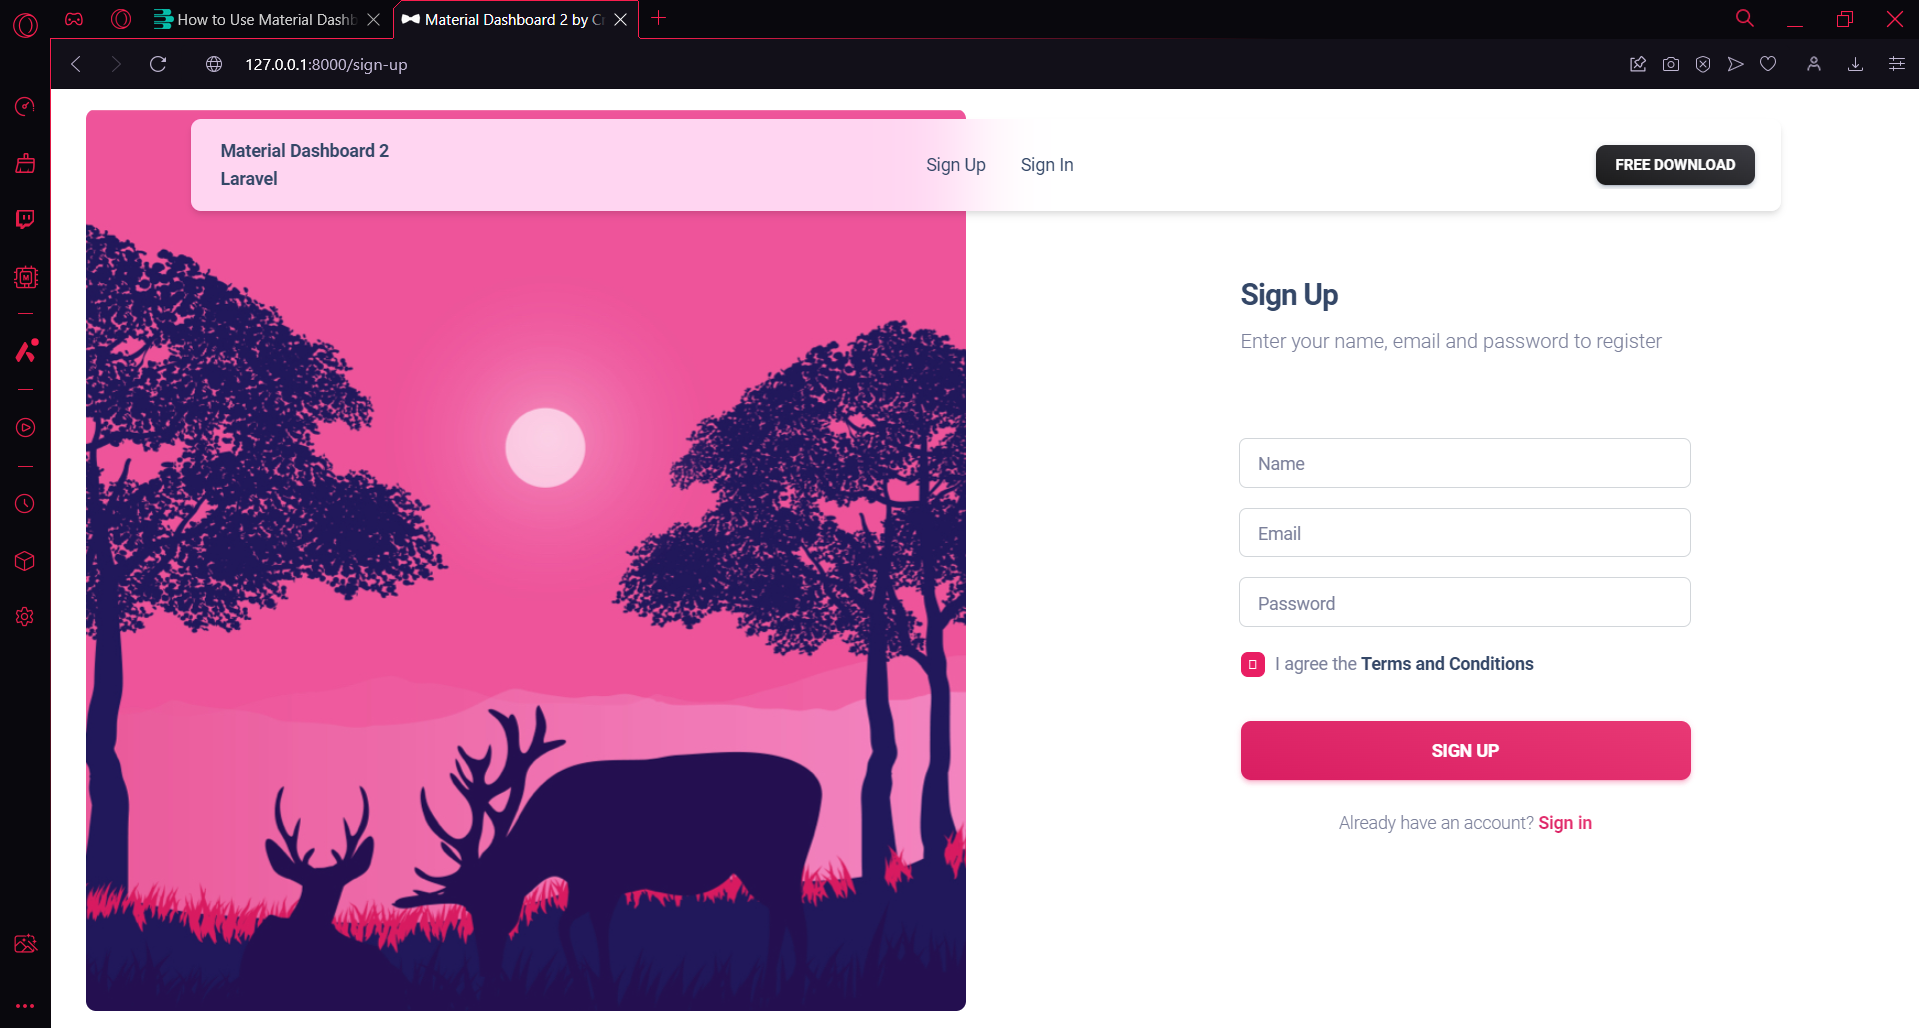
php artisan serveNow that everything is set up, register a new user and explore the Material Dashboard theme by visiting the following URLs:
- Register Page: http://127.0.0.1:8000/register
- or : http://127.0.0.1:8000/sign-up
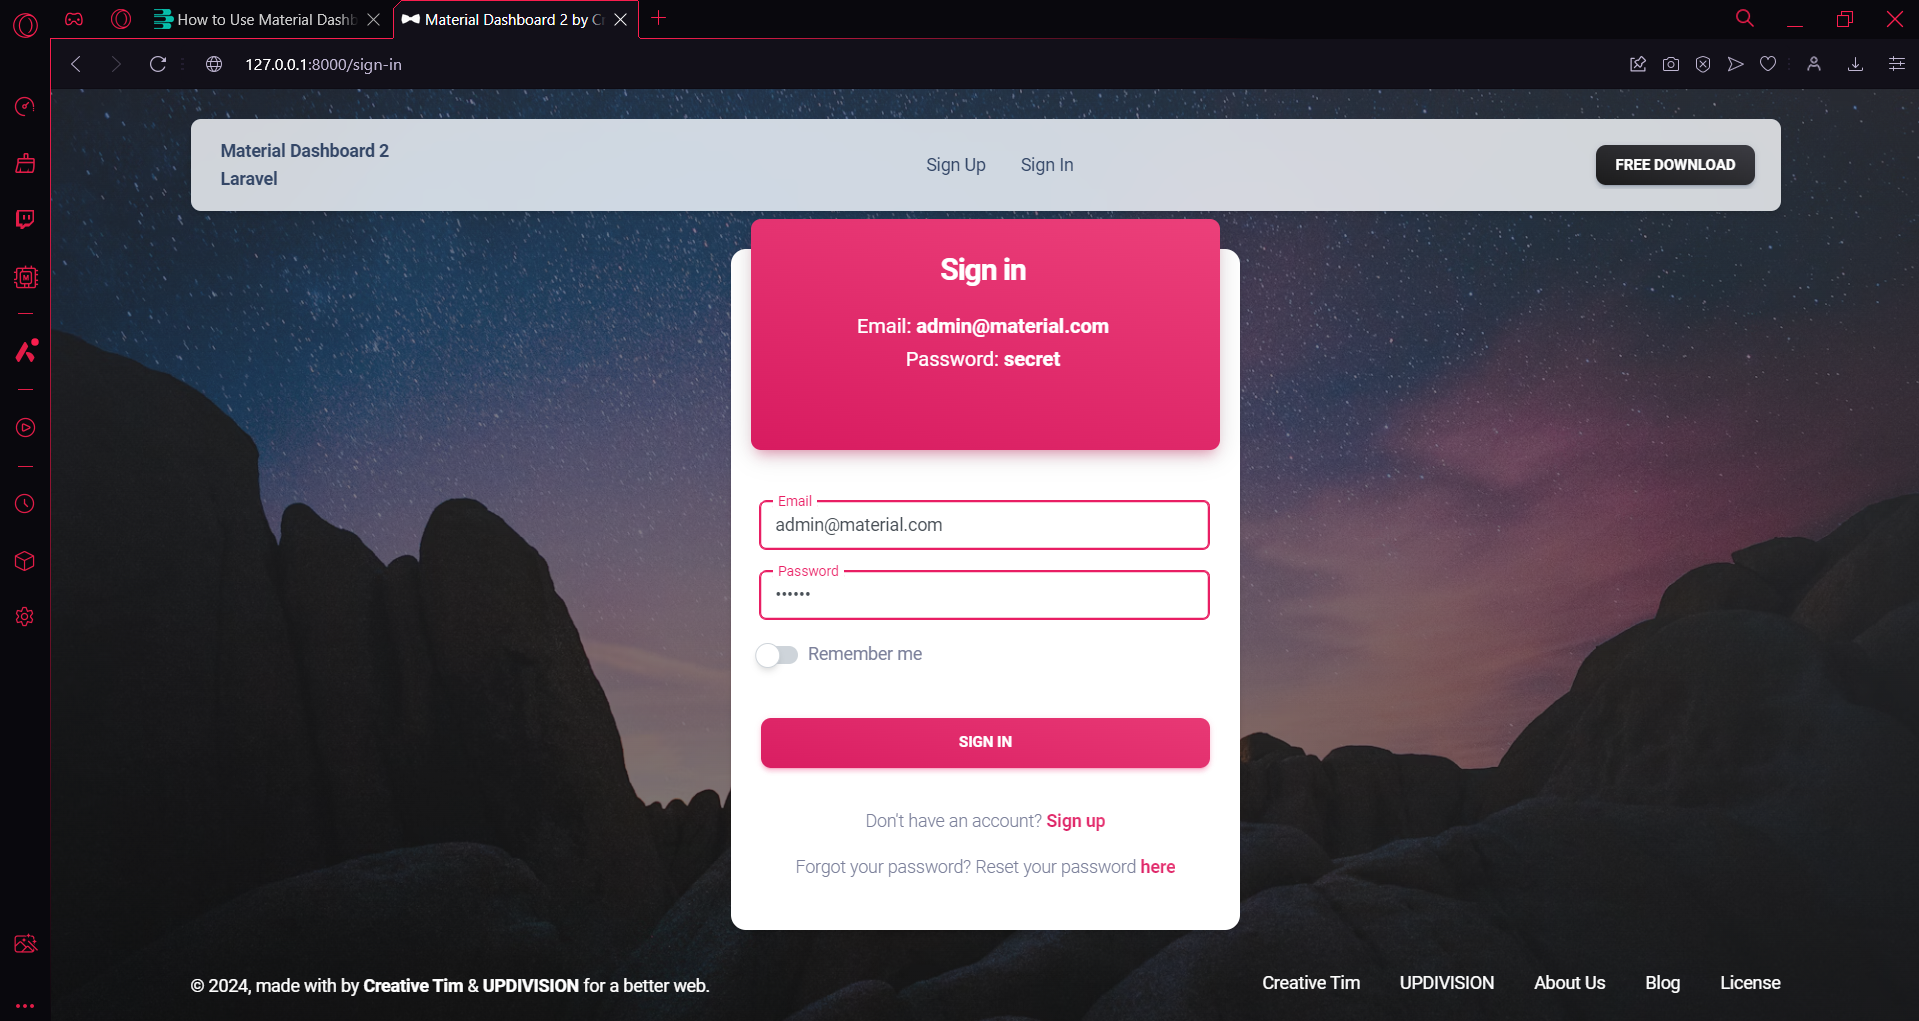
- Login Page: http://127.0.0.1:8000/login
- or: : http://127.0.0.1:8000/sign-in
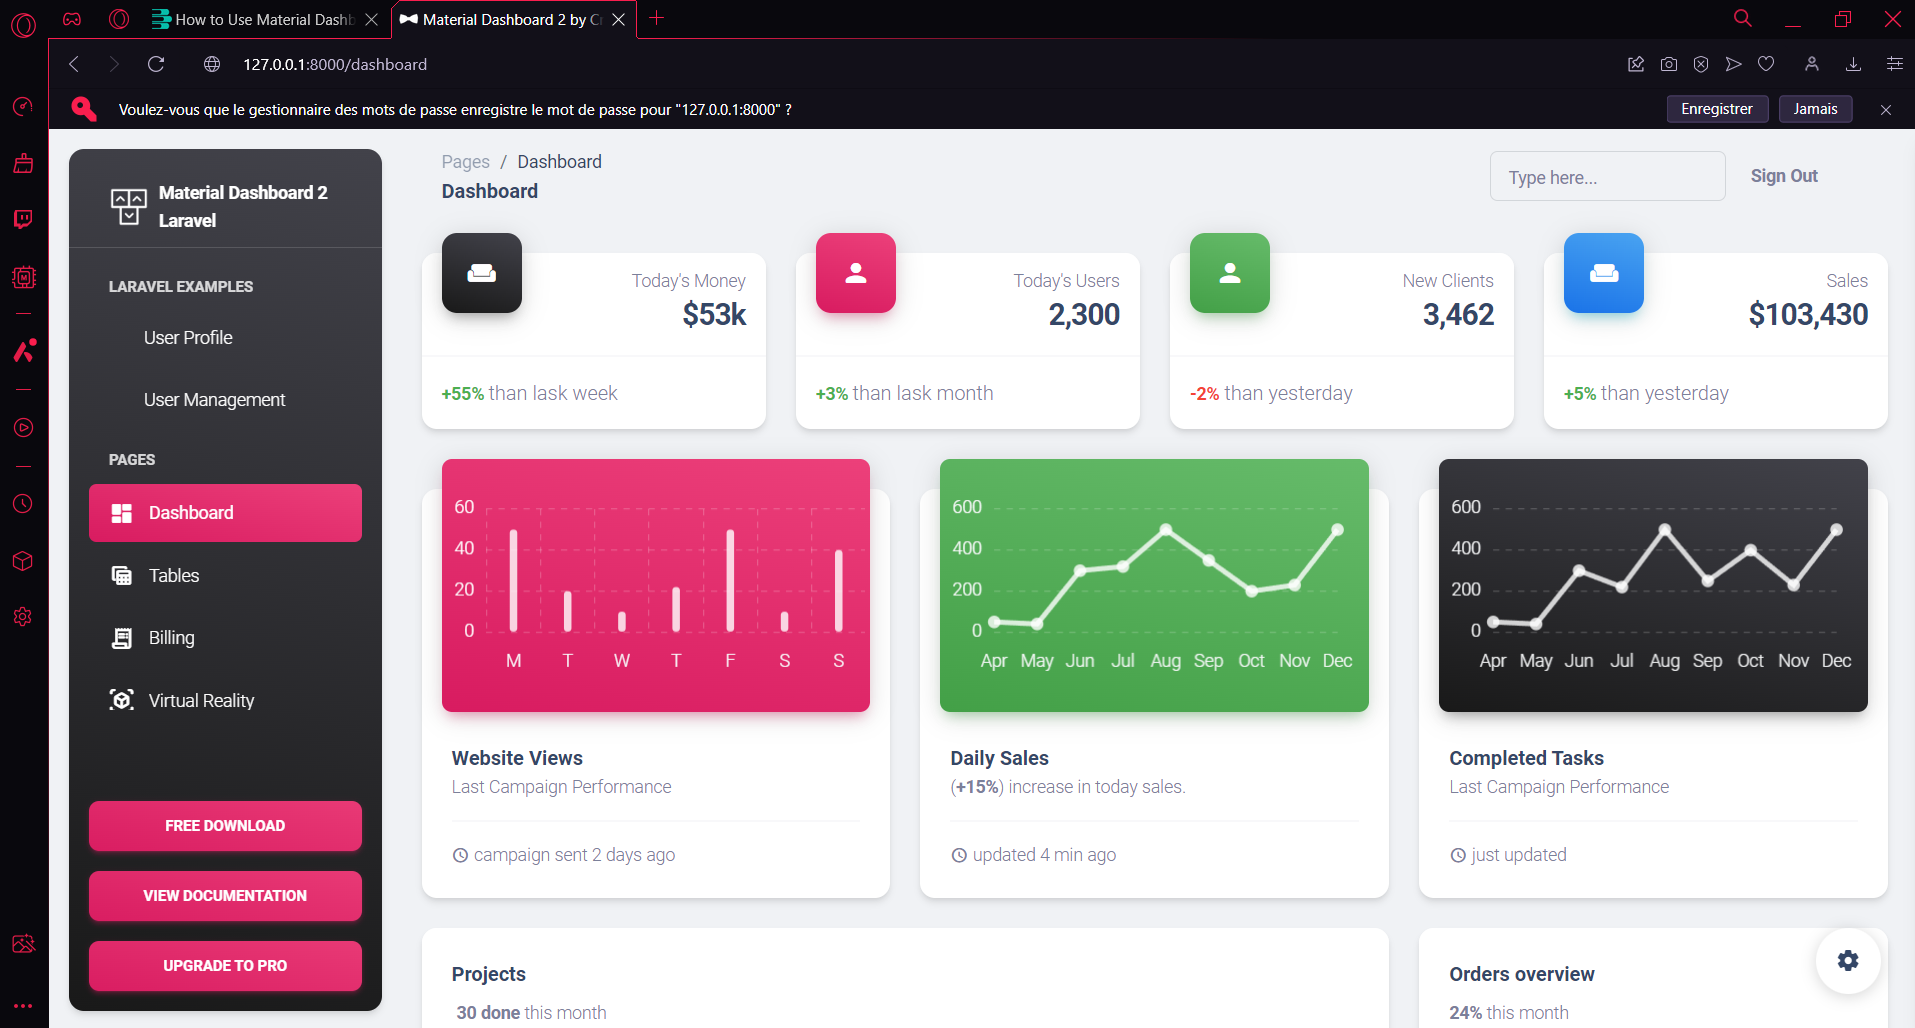
- Dashboard Page: http://127.0.0.1:8000/dashboard
- Tags :
- Laravel,
Posted with love by: XDevSpace Team
Comments
All Comments